

Goal: provide a step-by-step guide to practicing sound massage at home, safely and with attention to your body.
The traditional bowl comes from the Himalayan highlands. It is often hand-hammered and made from several metals. Its sounds are used for relaxation, meditation and chakra work.
There are two main techniques: striking the bowl near the rim with a mallet or making it sing by rubbing around the rim. Small bowls produce high harmonics, while large ones offer low vibrations. Both techniques encourage relaxation and release of bodily tension.
What you will find here: how to choose a bowl, prepare the space, use the essential techniques, work through sequences for the back and abdomen, and close the session gently. The practice is simple: one well-chosen bowl is enough to feel its effects on the body.
Why choose Tibetan singing bowl sound massage for relaxation today?
The combination of sound and vibration offers a way to soothe body and mind. This sound massage engages hearing and touch. It can calm the mind quickly when thoughts keep circling.
Tibetan singing bowls produce vibrations that can help release muscle tension and ease anxiety. Perceived benefits include emotional relief and a sense of calm. This gentle approach may help when a conventional massage does not bring enough relaxation.
The sounds may also support sleep. The harmonics encourage you to let go and rest. At the same time, the vibrations can heighten body awareness: you notice your body and your presence more clearly.
| Immediate effect | Focus | Benefit with regular practice |
|---|---|---|
| Mental relaxation | Nervous system | Reduced stress |
| Muscle relaxation | Tissues and circulation | Better recovery |
| Sensory grounding | Body awareness | Greater sense of presence |
The protocol is flexible: try a short session during a stressful moment or a regular ritual to help manage anxiety. For a guided session, see a listed practitioner such as Catherine Vanier, who offers support focused on comfort and safety.
Understanding Tibetan singing bowls: origins, alloys and notes associated with chakras
Singing bowls have roots in Himalayan cultures. Their uses have shifted from practical purposes to sound rituals. The tradition is associated with shamans, then Bön priests, before its adoption by Buddhist traditions.
The seven metals often said to make up a Tibetan bowl correspond to celestial bodies: gold (Sun, solar plexus), silver (Moon, sacral chakra), iron (Mars, root), mercury (throat), tin (Jupiter, crown), copper (Venus, heart) and lead (Saturn, third eye). These metals carry symbolic meanings that some practitioners use in chakra work.
How a bowl is made affects its sound: a hammered bowl offers rich harmonics and a long resonance, while a cast bowl produces a more uniform sound that fades quickly. The alloy and thickness shape its tone.
Size and pitch are related: small instruments produce higher notes (upper chakras), and large ones produce lower notes (lower chakras). Common associations are C → root, D → sacral, E → solar plexus, F → heart, G → throat, A → third eye and B → crown.
For example, a large bowl tuned to C may be used for grounding; a small one tuned to B may be used for an uplifting effect. Every bowl is unique: the mallet, the player’s hand and the room also affect how its sound is perceived.
To explore your options, consult this guide to using a Tibetan singing bowl before your first purchase. In practice, choose a quality hammered bowl if you want a more immersive sound.
Choosing a singing bowl and accessories for home use
Your choice of bowl and accessories determines how far the sound carries and how it sounds in your home. Hammered bowls offer rich harmonics and a long resonance, making them well suited to immersive listening.
Cast models, often made of brass, produce simpler sounds that fade quickly. For stronger bodily vibrations, choose a thick, heavy instrument.
Mallets have a major effect on the result: a wooden striker brings out higher frequencies and a sharper attack. A suede-covered or felt mallet reveals the lower fundamental note and produces a more enveloping sound.
Practical tips: match the striker to the bowl’s diameter—a large striker for a large bowl, a small one for a small bowl. Start with a versatile, medium-sized bowl, then add a larger one for the back or abdomen.
Try several combinations to discover the layers of sound in the same singing bowl. Note your preferred technique, volume and target area to develop a consistent personal protocol.
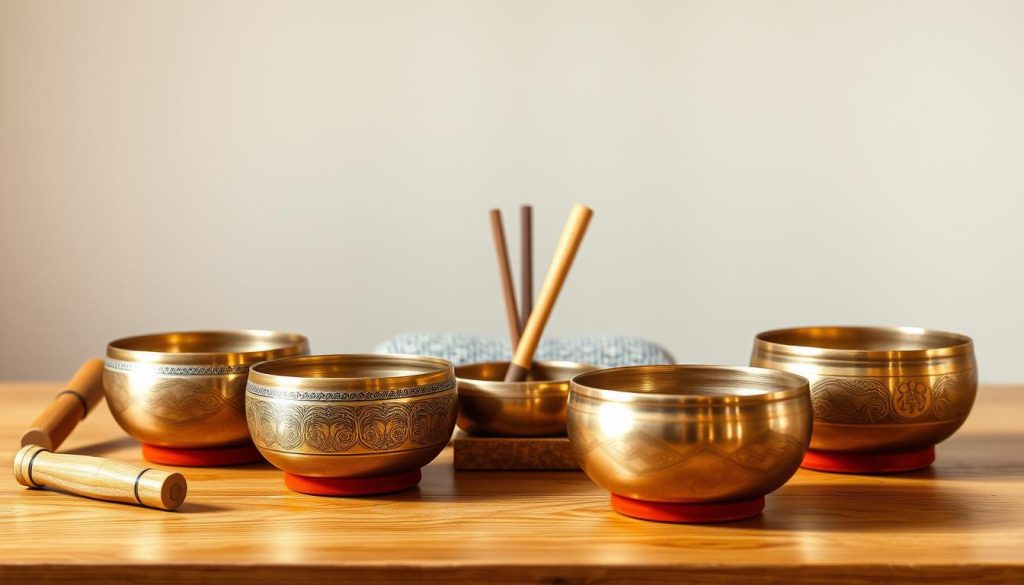
Tip: choose quality and a pleasant resonance over a purely decorative object.
Preparing the space and the person for deep relaxation
Preparing the room and the body directly affects how the vibrations are felt. Create a peaceful atmosphere with relative quiet, dim lighting, a comfortable temperature and cushions to support sensitive areas.
Help the person settle into a lying position, wearing comfortable clothes and with their eyes closed. Encourage natural breathing through the nose. A slow, steady rhythm helps them relax.
When placing bowls near the body, arrange them around the energy centers to create an even sound bath.
Move slowly around the person to vary the angle and distance. You can also place the base of a bowl on the back and sound it in successive positions from the neck to the sacrum.
Place a towel between the bowl and the back so it can slide without rubbing the skin. Let each sound fade completely before moving to another area.
- Volume: keep it comfortable, without overwhelming the listener.
- Guided breathing: count during exhalation to deepen relaxation.
- Practical precautions: silence notifications and let others in the home know about the session.
Tip: a comfortable setup strongly influences the experience and effectiveness of sound massage.
Essential techniques for playing a Tibetan singing bowl safely
A clear sound requires more precision than force. Two main movements produce a steady, pleasant tone: gently striking near the rim or rubbing around it at a consistent pace.
Striking near the rim or rubbing around it
Striking: rest the bowl on an open palm without letting your fingers touch its wall. Aim at the upper third, close to the rim, and give it a clean but gentle tap. This avoids a harsh attack and preserves the quality of the sound.
Rubbing: angle the striker at 20 to 30° and maintain steady pressure. Start with the wooden side to bring out higher notes, then try the suede side to enrich the lower tones. Consistent pressure matters more than speed.
Improving vibration and resonance
Rest the bowl on your palm, keep your elbow steady and breathe calmly. Never press inside the bowl: this deadens the sound and may damage the surface.
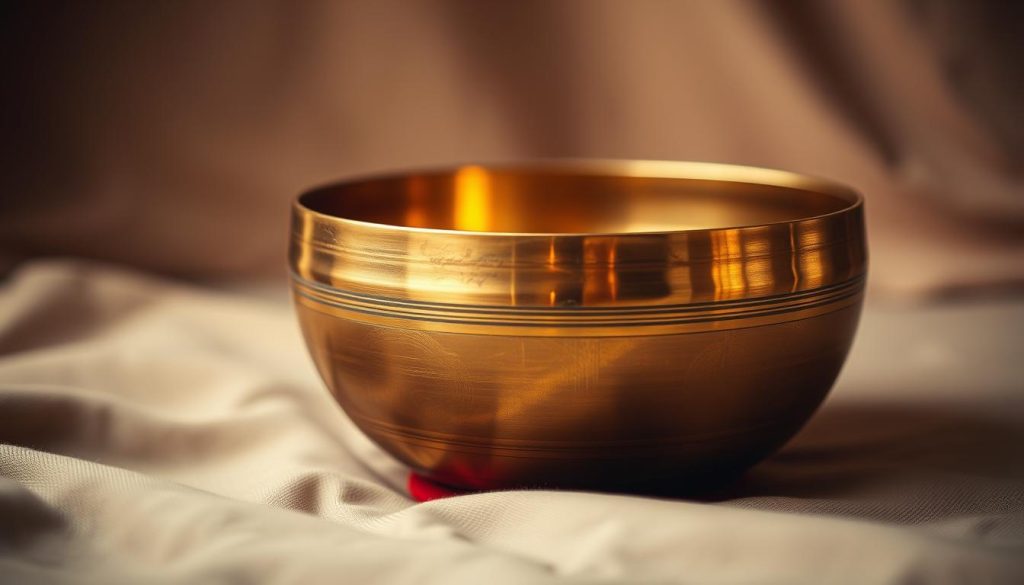
Let the resonance fade before playing again. Listen to the balance between the fundamental note and its harmonics, and adjust your movement. Try moving clockwise and counterclockwise: the way you play changes the vibrational effect.
Hearing safety: avoid hard strikes and keep the volume comfortable for the person.
At-home Tibetan singing bowl massage protocol
Begin the session by setting a clear intention and establishing a calm sound rhythm. Three well-spaced strikes or one long tone produced by rubbing the rim are enough to invite the person to focus.
Opening sounds and focus: setting an intention and rhythm
Invite the person to set a simple intention, such as calm or sleep. Strike the bowl three times at a moderate volume, letting each sound fade before continuing.
Back sequence: from the neck to the sacrum, striking or rubbing the bowl over a towel
Lay a thin towel over the back to help the bowl slide. Place the base of the bowl near the neck, then sound it once at each position down to the sacrum.
Always let the sound fade completely before moving the bowl. Alternate strikes to start the vibration with rubbing to extend it.
Front sequence: from the root chakra to the throat, balancing low and high tones
On the front of the body, begin at the root chakra and move upward to the sacral chakra, solar plexus, heart and then throat. Use the suede side of the striker for enveloping low tones near the lower abdomen.
Choose wood to produce more high tones near the throat. Keep checking the person’s comfort and adjust the bowl’s position if the resonance feels too intense.
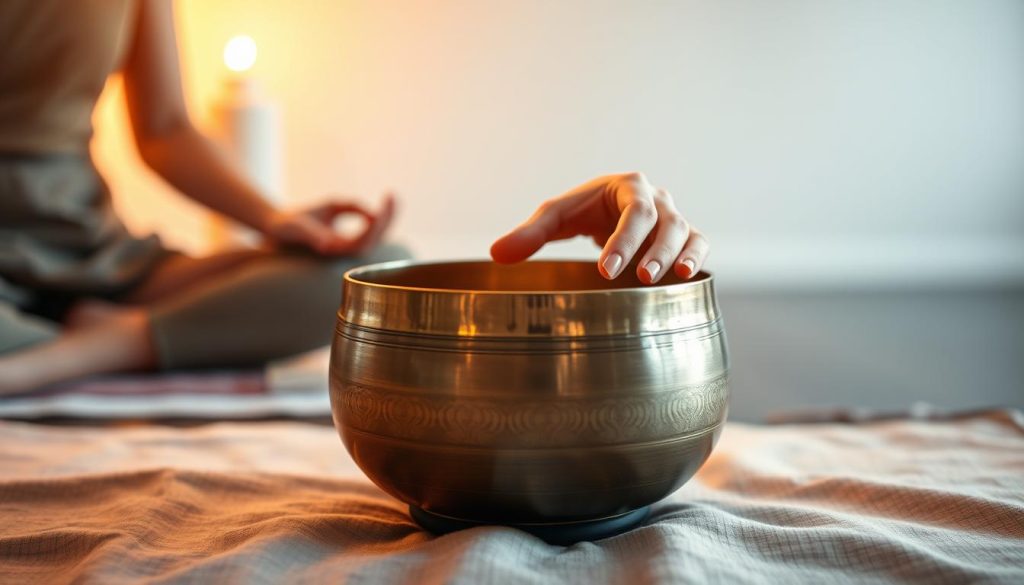
Closing: returning to calm, taking time to absorb the experience and resting in silence
Gradually reduce the volume, finish with a gentle strike, then allow one to two minutes of silence to absorb the experience.
Precaution: never place the instrument upside down on the head. Respect the person’s space and how they feel.
| Step | Action | Suggested duration |
|---|---|---|
| Opening | Three strikes or one long tone made by rubbing the rim; set an intention | 1 to 2 min |
| Back sequence | Move from area to area over a towel; let each sound fade | 6 to 8 min |
| Front sequence | Move upward from the root to the throat, adjusting low and high tones | 4 to 6 min |
| Closing | Gentle strike followed by quiet time | 1 to 2 min |
Suggested total duration: 12 to 18 minutes. For a detailed protocol and further resources, see this article about Tibetan singing bowl massage.
Practical variations: short sessions, targeted work and combining bowls with other massages
Adapting the format makes it easier to meet everyday needs. In a treatment setting, brief sound sessions can help establish relaxation. They can also be added at the end of a conventional treatment.
Ten-minute sessions for sleep and stress
Suggestion: play two or three gentle sequences by rubbing the bowl’s rim at bedtime. Ten minutes in total may help you settle for sleep.
Quick stress relief sequence: three well-spaced strikes, guided breathing, then two minutes of rubbing the rim to refocus.
Focused work near the spine or a painful area
For discomfort in a particular area, place a large bowl near the back and play it one section at a time.
Choose a felt or suede-covered mallet for a low, enveloping sound. Avoid sharp strikes.
Adding 5 to 10 minutes at the end of a traditional treatment
A brief sequence with a medium-sized bowl can encourage calm and extend relaxation. For someone who is unsure, begin with this addition before suggesting a full session.
Example closing sequence: one minute near the lower abdomen, one minute near the heart, one minute near the throat, then a period of silence.
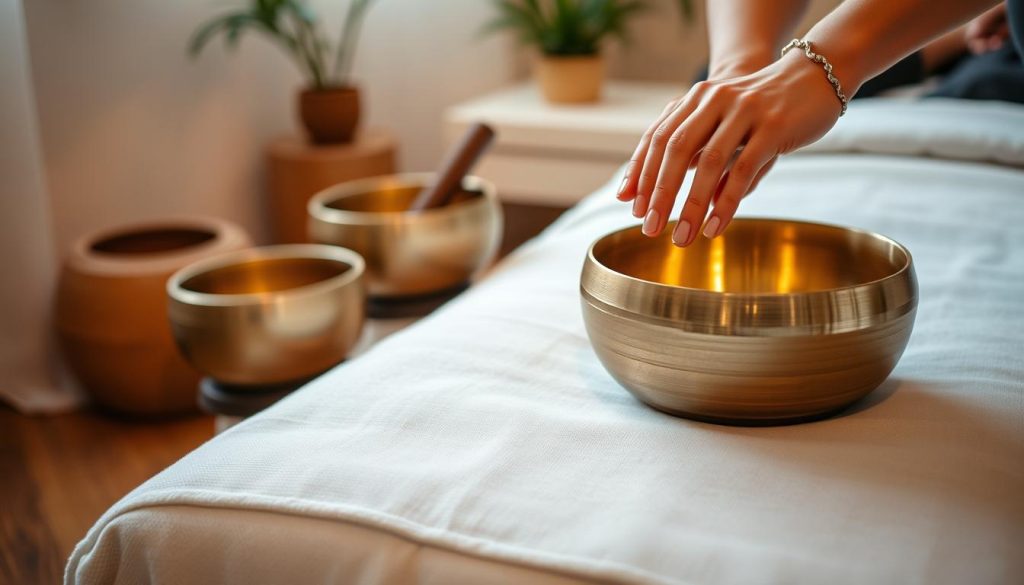
| Use | Duration | Recommended equipment |
|---|---|---|
| Settling for sleep | 10 min | Medium bowl, suede-covered mallet |
| Quick stress relief session | 3 to 4 min | Small bowl, wooden striker |
| Localized discomfort | 5 to 8 min | Large bowl, felt mallet |
Tip: listening carefully and playing gently matter more than producing a loud sound.
Precautions, respect for the person and good care practices
Before any session, establish simple ground rules that protect both the person and the instrument.
Actions to avoid: never allow the bowl to be placed upside down on someone’s head: it is unsafe and disrespectful. Avoid striking too hard, and wait until the vibration fades before playing again.
Control the volume, especially near the ears. Communicate with the person and avoid sensitive areas if they report discomfort.
Cleaning and storage
Clean the bowl with a damp cloth. A little white vinegar or lemon juice may help with stubborn marks.
Never soak the bowl: prolonged exposure to water can corrode some metals, including iron and copper.
Patina, damage and sound quality
Accept the patina: it shows the bowl’s age and does not diminish its quality. If the bowl is dropped, a crack can make its sound uneven and affect its pitch.
If you wish to recharge the bowl, occasionally place it in the sun, and play it regularly to maintain its vibrational effect.
| Risk | Preventive action | Response |
|---|---|---|
| Placing the bowl upside down on the head | Do not allow this position; explain why | Remove the bowl and help the person refocus |
| Knocks and drops | Place the bowl on a stable surface | Check its sound; replace it if cracked |
| Corrosion | Avoid soaking; store it dry | Clean with a cloth; use lemon juice for marks |
| Excessive volume | Adjust distance and striking force | Lower the volume; protect the ears |
Reminder: the aim is well-being, not a loud performance. Gentle playing protects both the instrument and the person.
Tracking the benefits: relaxation, sleep, stress and tension
Regularly noting how you feel turns an intuitive practice into a way to assess what helps you. Start with simple measures: perceived relaxation before and after a session, sleep quality, and sensations in the body such as warmth, heaviness or lightness.
Personal tracking: keep a journal
- Record the date, duration, areas covered and type of accessory used.
- Note the volume and what you observe after 24 hours, including falling asleep and waking during the night.
- Give your emotional state and any change in pain a simple rating from 1 to 5.
Connect these notes to concrete changes: falling asleep sooner, waking less often during the night or recovering better after exercise.
Consider how your mind feels: greater calm and clarity, or less irritability. Notice any change in the body, such as reduced tension in specific areas or changes in pain after regular sessions.
Adjusting your practice: if an evening session feels too stimulating, lower the volume, choose a suede-covered mallet and shorten the session. Compare your notes from the first and fourth weeks to see what has changed.
Practice two or three times a week according to your needs. Let your breathing follow the bowls’ vibrations to deepen bodily relaxation.
Important: this practice complements healthy habits and does not replace medical advice.
Conclusion
Adding a few minutes of sound at the end of a treatment can extend relaxation and help clear the mind.
This guide shows how an appropriately chosen bowl with rich harmonics can help you relax and refocus. The essentials are choosing a suitable bowl, preparing the space, controlling your movements and keeping the volume comfortable.
How you play matters: steady pressure, slow movements and attention to the resonance create a harmonious effect. Start with short sessions, then try the full protocol and add 5 to 10 minutes at the end of other treatments.
Always respect people’s safety and comfort. To learn more about benefits and uses, read this article on Tibetan singing bowls and sound therapy.
Regular practice, a gentle intention and experimentation with sizes, positions and sequences will help your practice evolve.